
The Kids First Variant Workbench powered by CAVATICA accelerates breakthroughs in pediatric medicine by combining Kids First participant conditions, genomic variants, and variant annotations. With each of these tools at their disposal, the Variant Workbench provides one space for researchers to make genomic discoveries using Kids First datasets they have received access to, enabling them to be able to answer research questions such as…
- In participants with <a given condition>, are there variants in <a gene of interest>?
- What types of conditions are participants with variants in <a gene of interest> diagnosed with?
- Is <a variant within a specific participant> likely to be deleterious?
On a technical level, the Variant Workbench is a series of tables containing information about Kids First participants, their genomic variants, and annotations such as ClinVar and CADD to put them in context. These tables can be linked together using PySpark SQL to isolate the specific fields of interest in the more than 400 million unique variants in the Kids First cohorts.
These directions are for setting up and initializing the Kids First Variant Workbench on the CAVATICA platform. For additional information about using the Workbench, see the readme and documentation included within the tool itself.
If you have any questions about using the Variant Workbench, please reach out to our help desk at support@kidsfirstdrc.org and we will be able to assist.
Step 1
Navigate to the Public Projects page on CAVATICA by clicking “Public Projects” in the navigation bar on the top of the screen.
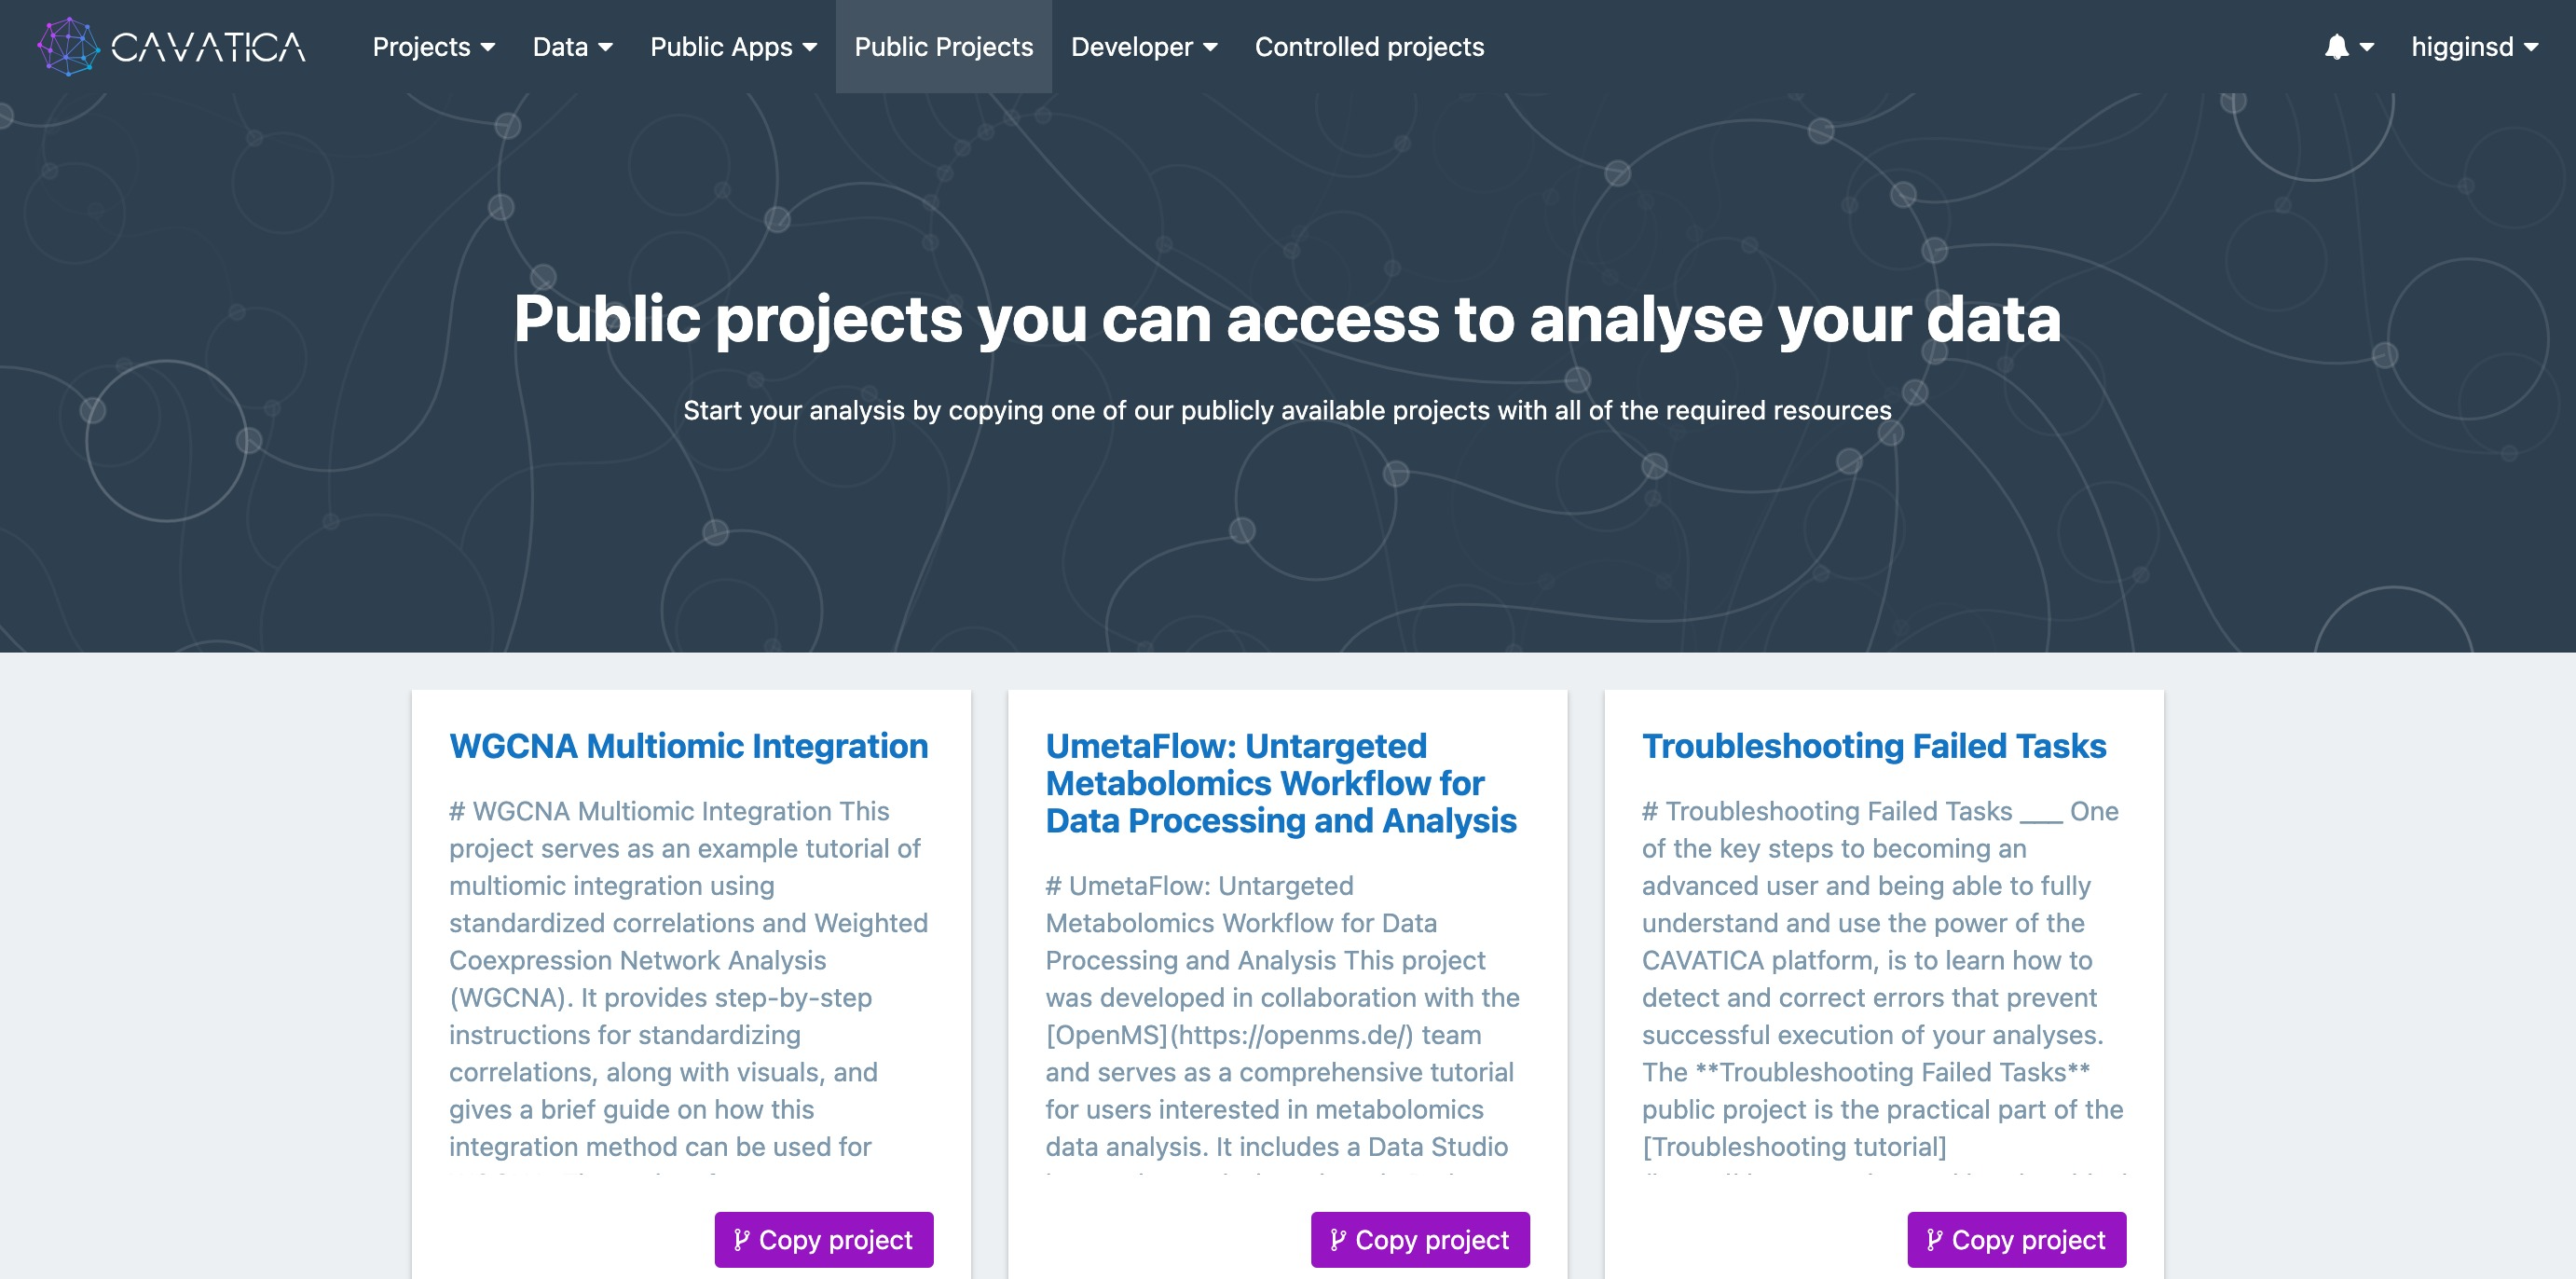
The Public Projects page can be accessed on CAVATICA using the navigation bar at the top.
Step 2
Locate the public project called Kids First Variant Workbench. Click on the link to open this project.
Open the public project for the Kids First Variant Workbench to the Public Projects page in CAVATICA.
Step 3
From the public project page you can review information about the Variant Workbench. The public project represents a shared space that all users can access to initialize their own private workbench space. To begin using it yourself, you will need to create a copy of the project under your own username. Do this by clicking the i symbol next to the project name and choose Copy Project. You may give your private workbench space a unique name to differentiate it.
Copy the Variant Workbench public project into your own private space to be able to use it.
Step 4
CAVATICA will automatically redirect you to the project page of your private Variant Workbench. You may add users, execute tasks, and initialize the DataCruncher just as you can in any project.
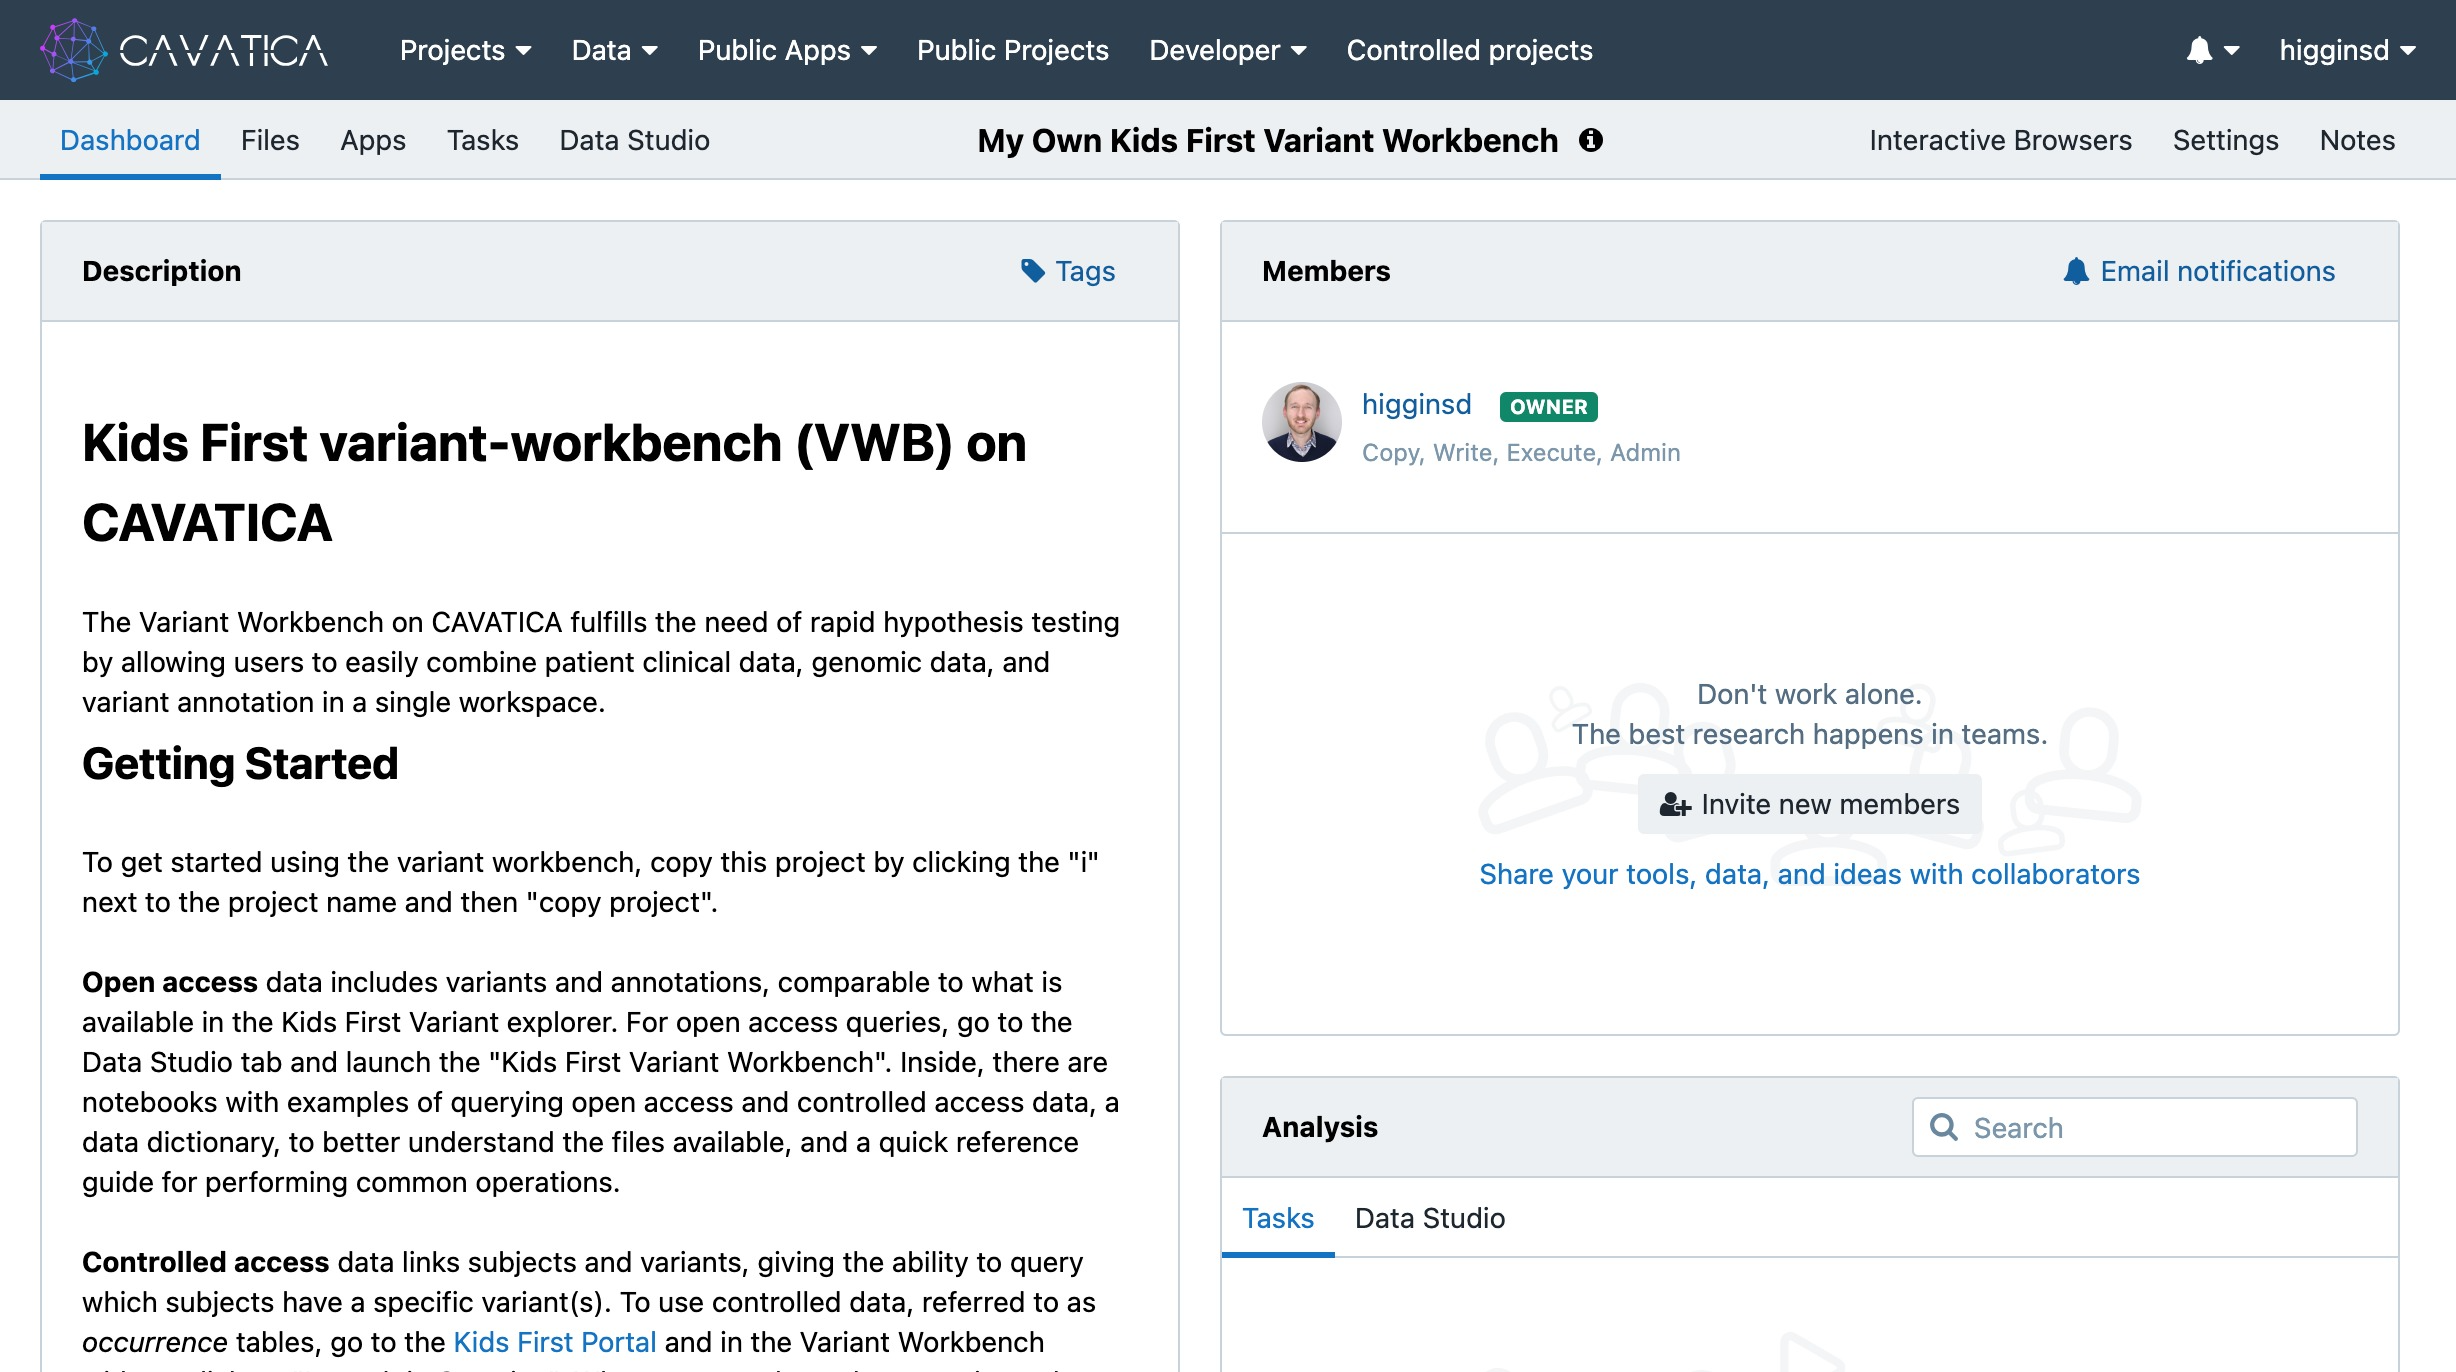
A private Variant Workbench project ready to have files added.
The Variant Workbench project comes pre-loaded with publicly-available information such as variant annotations and participant conditions. The information which links the variants to specific participants is in a set of tables known as occurrences. These contain controlled-tier data and are unique to each user depending on which Kids First studies they have access to. For more information about applying for controlled-tier access to Kids First studies, see this page in our Help Center.
To load your unique occurrences tables in your private Variant Workbench project, carry out the following steps.
Step 5
Navigate to the Dashboard of the Kids First Portal. Ensure that you have connected your Kids First Portal account to Authorized Studies and CAVATICA as described on this page in our Help Center. Locate the “Variant Workbench” widget and click Launch in CAVATICA. You may be prompted to log in with your CAVATICA credentials.
After ensuring that your Authorized Studies and connected CAVATICA projects appear on the Kids First Portal Dashboard, click the “Launch in CAVATICA” button on the Variant Workbench widget.
Step 6
After logging in with CAVATICA, you will be redirected to an Importing DRS Data page. Choose your private Variant Workbench project as the space to load the files into. Read and accept the terms for using the Variant Workbench before clicking Import Data.
Choose the Variant Workbench project created above as the destination for importing the files.
Step 7
At this point files will automatically begin to be copied into your project. You can track the progress using the “bell” icon in the top right corner of the CAVATICA window. You may navigate away from this page and track the import of files in the occurrences directory within the CAVATICA project. Depending on how many Kids First studies you have approved access to, it may take up to an hour to copy the files to your private Variant Workbench project.
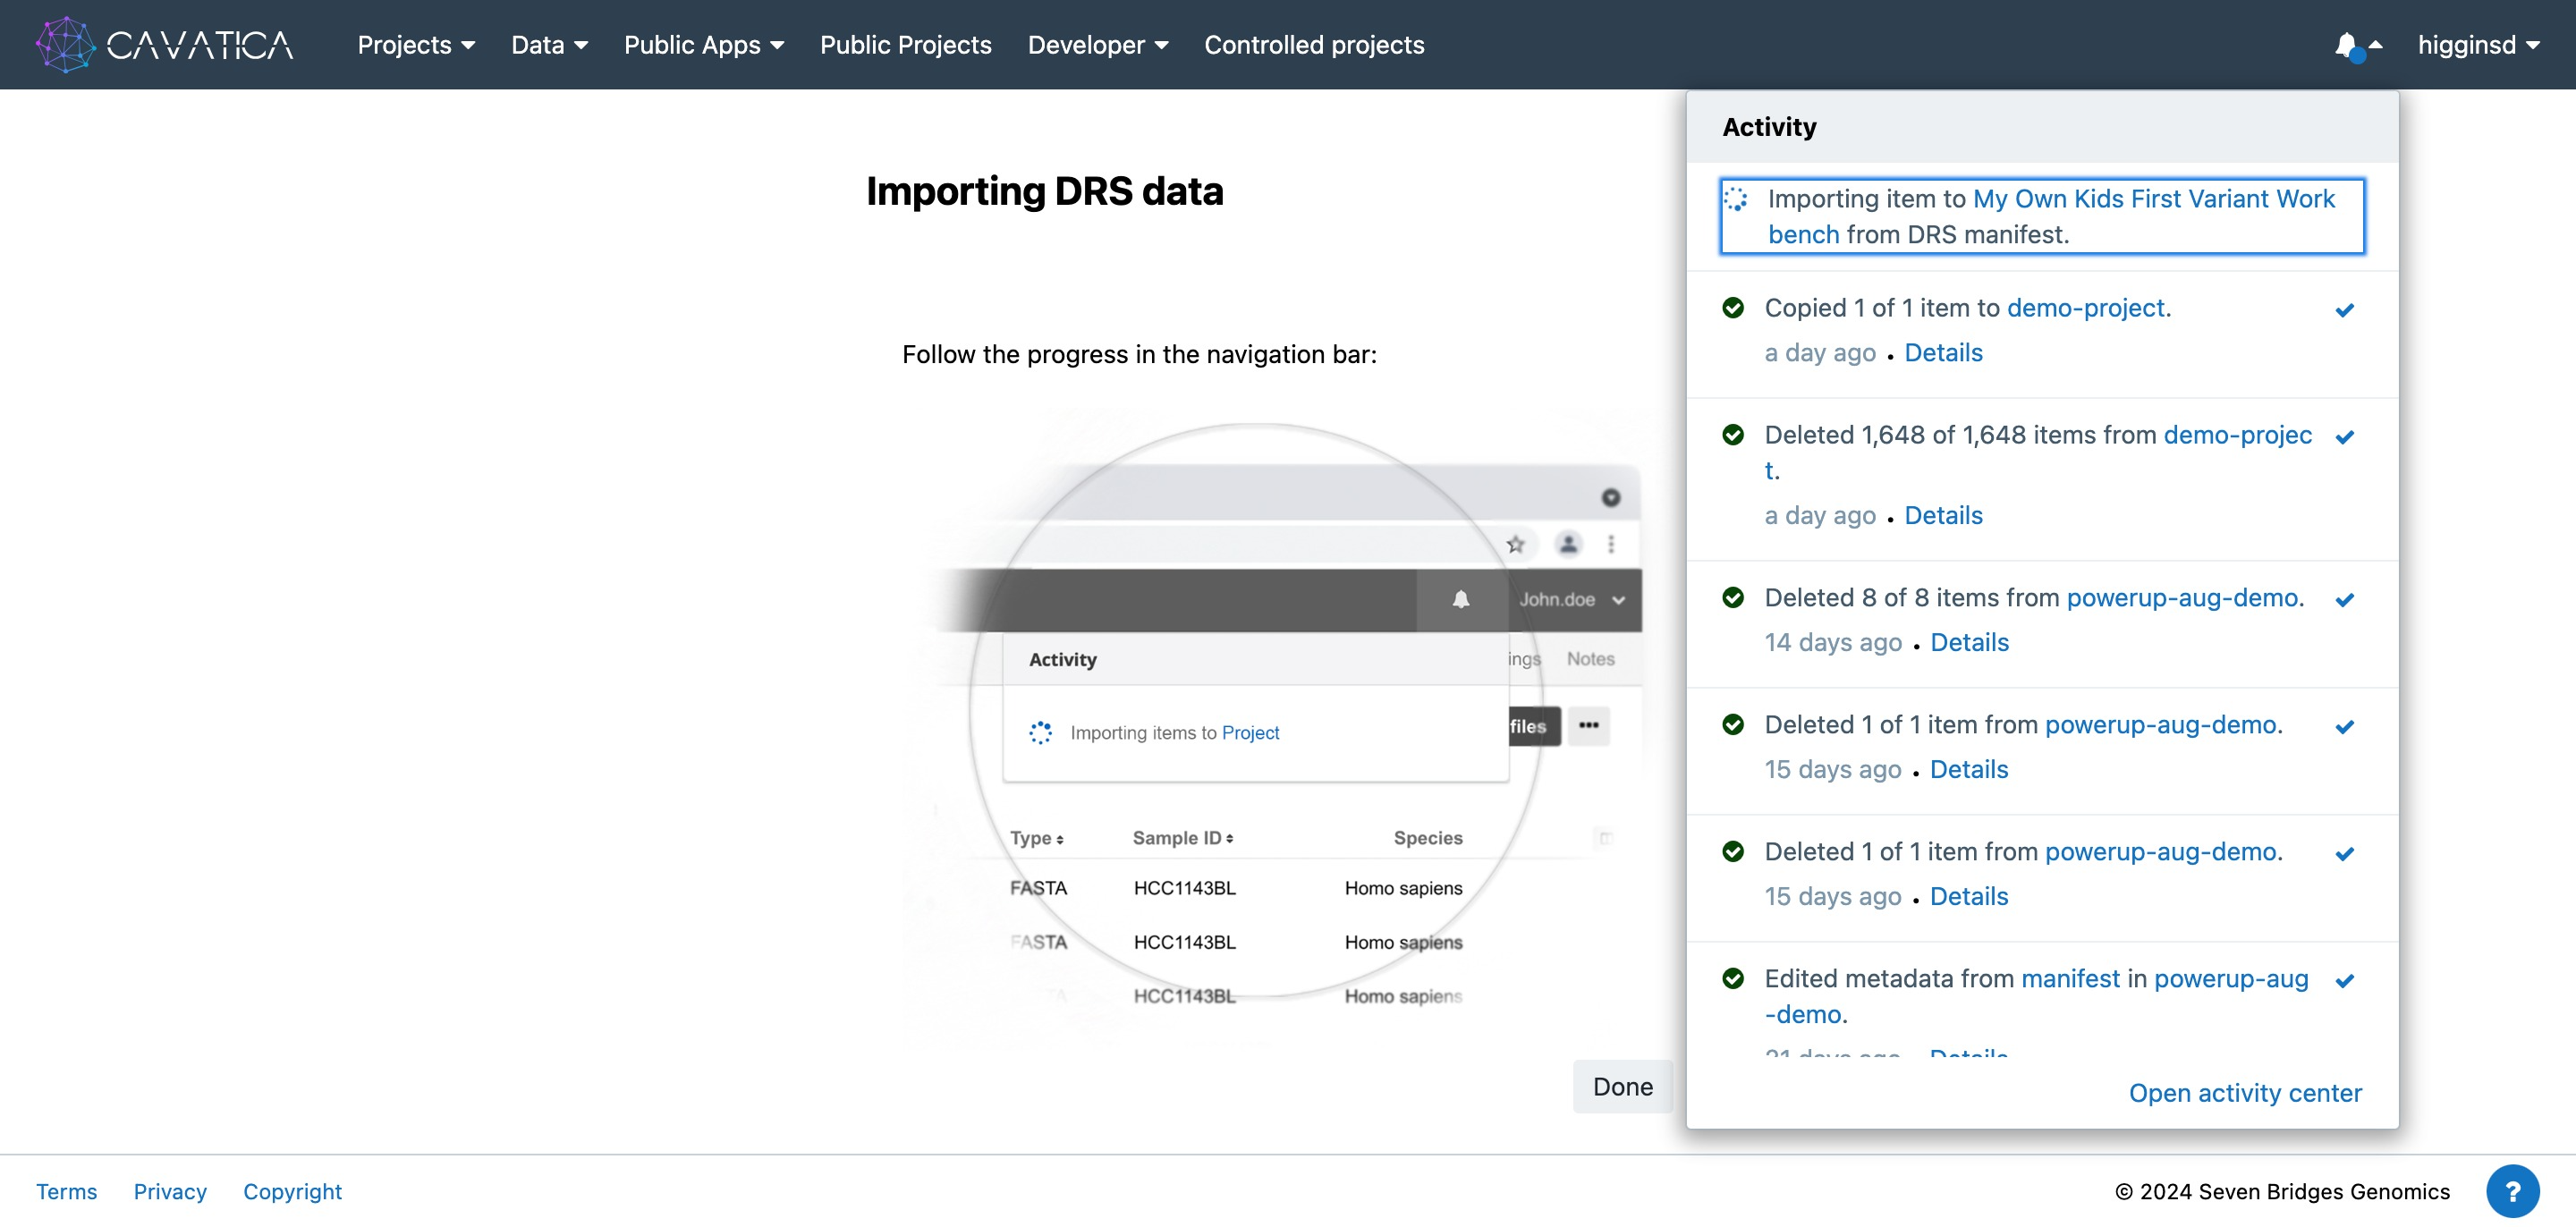
Files are being imported to the Variant Workbench successfully.
Step 8
When the files have been fully imported, you are ready to begin your analysis. Within your private Variant Workbench project, navigate to the Data Studio and start the Kids First Variant Workbench analysis. This will take several minutes to load.
Navigate to the Data Studio to initialize the Variant Workbench interactive session.
Step 9
When the interactive analysis fully loads, you will be in an interactive session of CAVATICA’s JupyterLab. Additional readmes and information about using the Variant Workbench are provided within the tool itself.
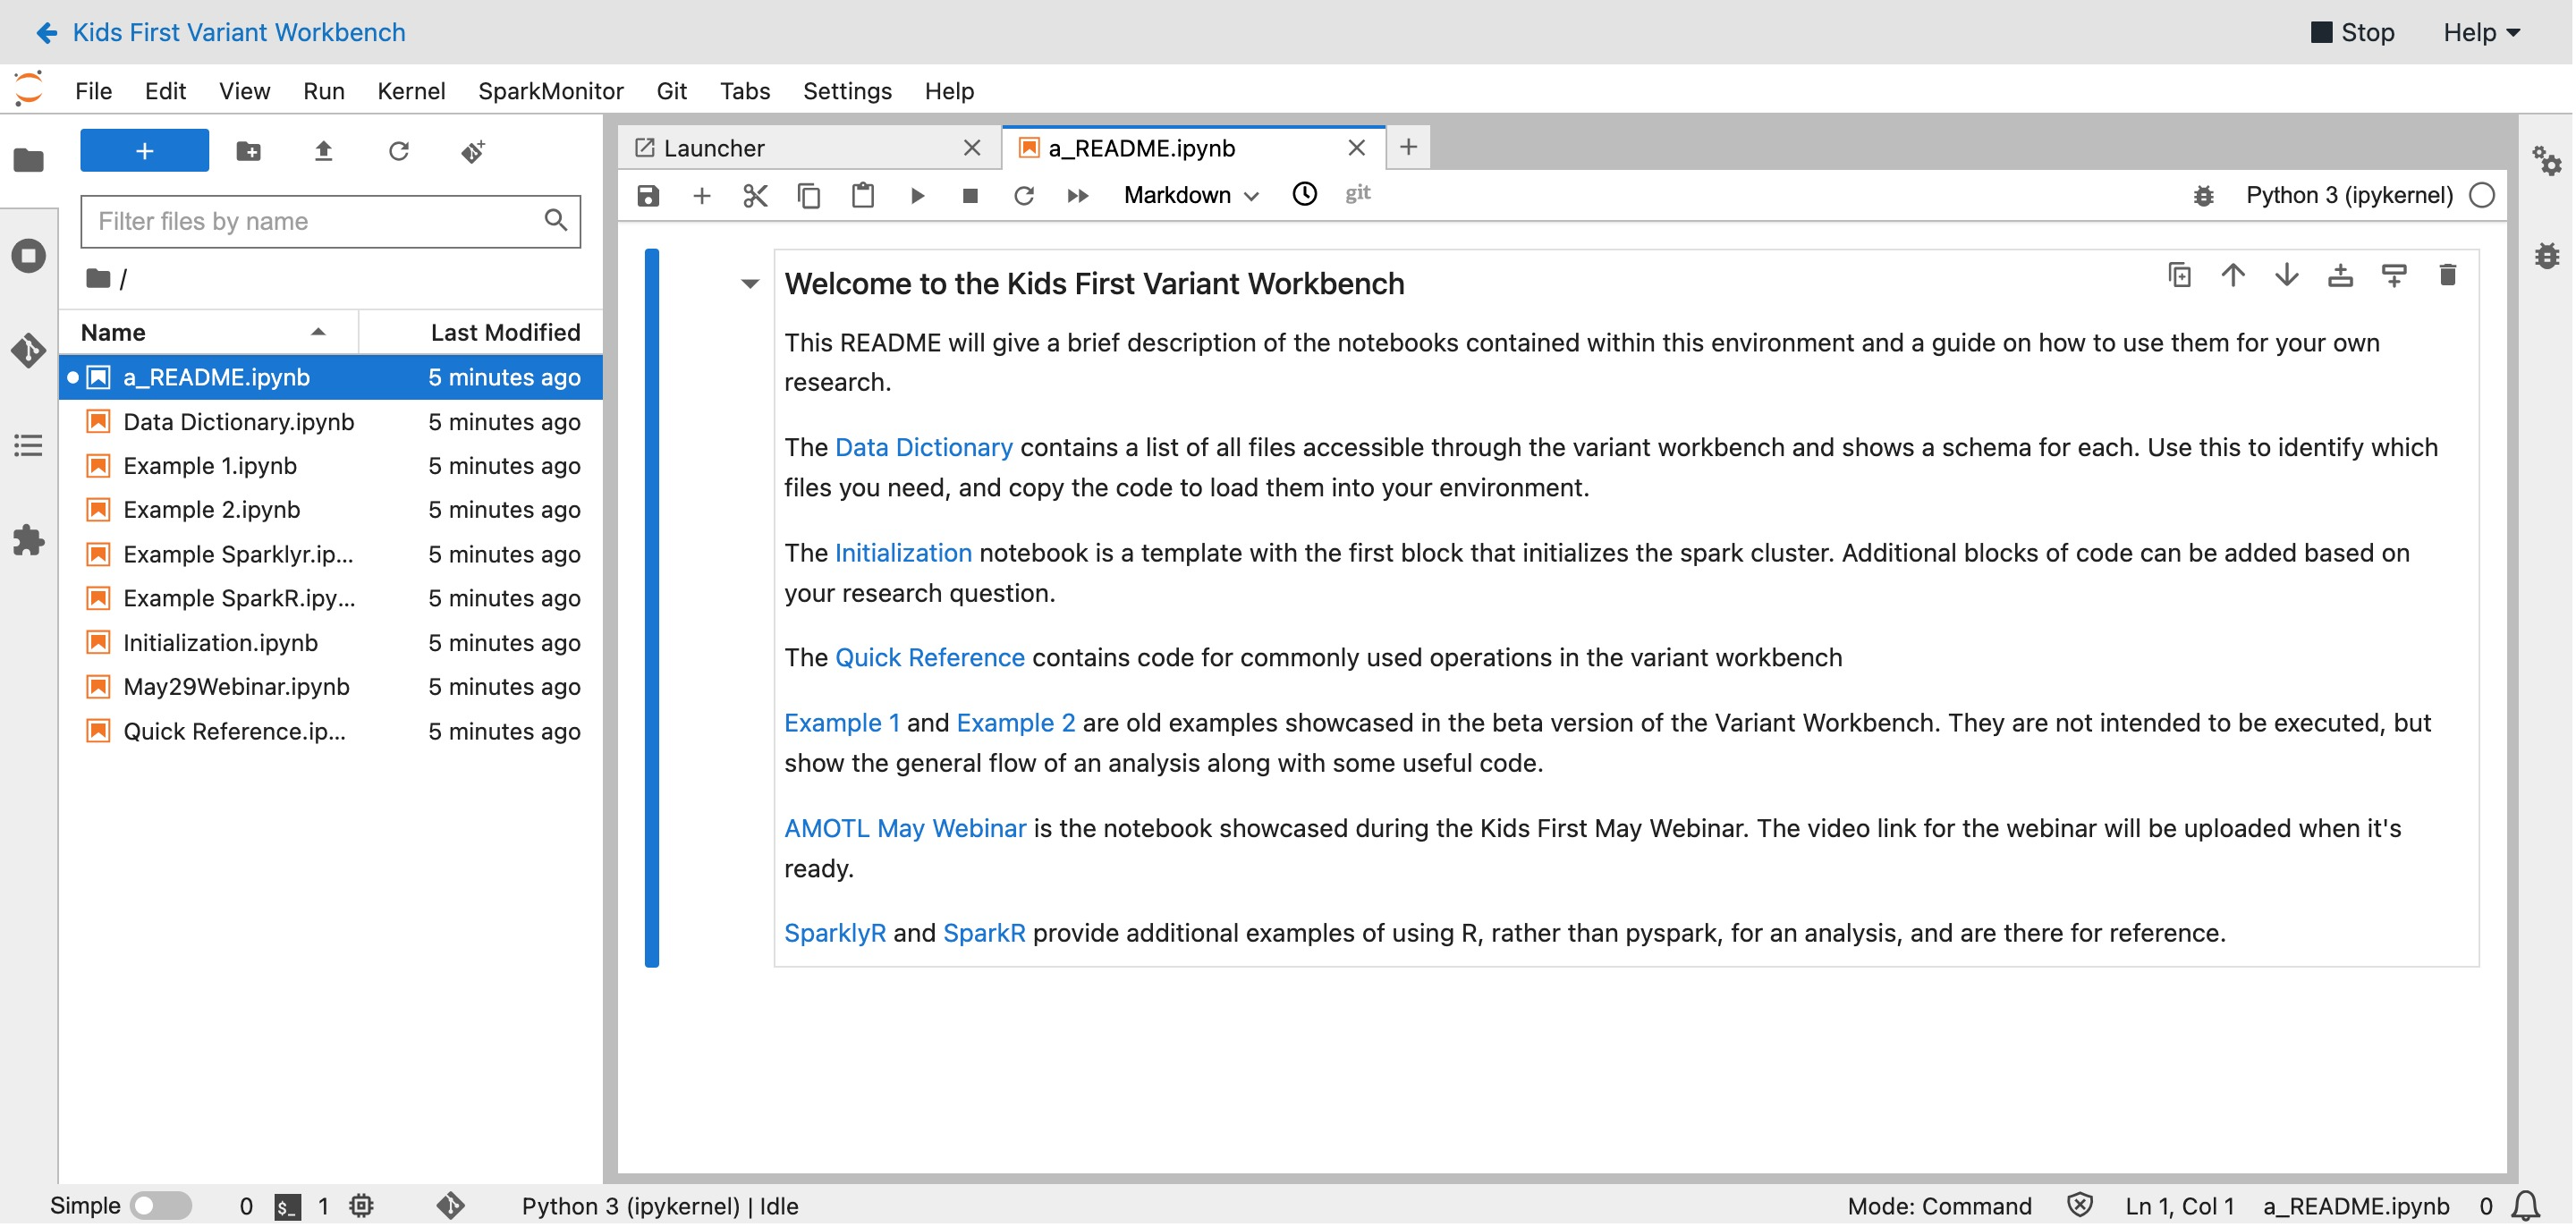
The fully loaded Variant Workbench. Review the readme and documentation within the Workbench itself for additional assistance using the tool.